We recommend reading the Amplus user manual that will guide you through the initial setup and ongoing management of the platform.
General Information
Amplus is a secure data management platform that can drastically change the way a company or public institution operates. It increases the value of data by transforming it into useful insights. The goal is to enable companies and institutions to systematically organize and use their data, through a single intuitive portal.
Amplus, public data can be visually shared with the community, while internal data access can be restricted to certain employees only, depending on the needs of the company/public institution.
Amplus provides a wide array of functionalities to help facilitate the needs of any type of company or public institution.
Read the user manual below to help you get started!
Getting Started
Create Amplus Account
To create your Amplus account, go to the Sign up page, fill in the required fields, choose your organisation and click on the “Sign up” button.
After clicking the “Sign up” button you will be redirected to a new page according to the type of organisation you have chosen, where you will need to fill in a list of required information.
Sign in page
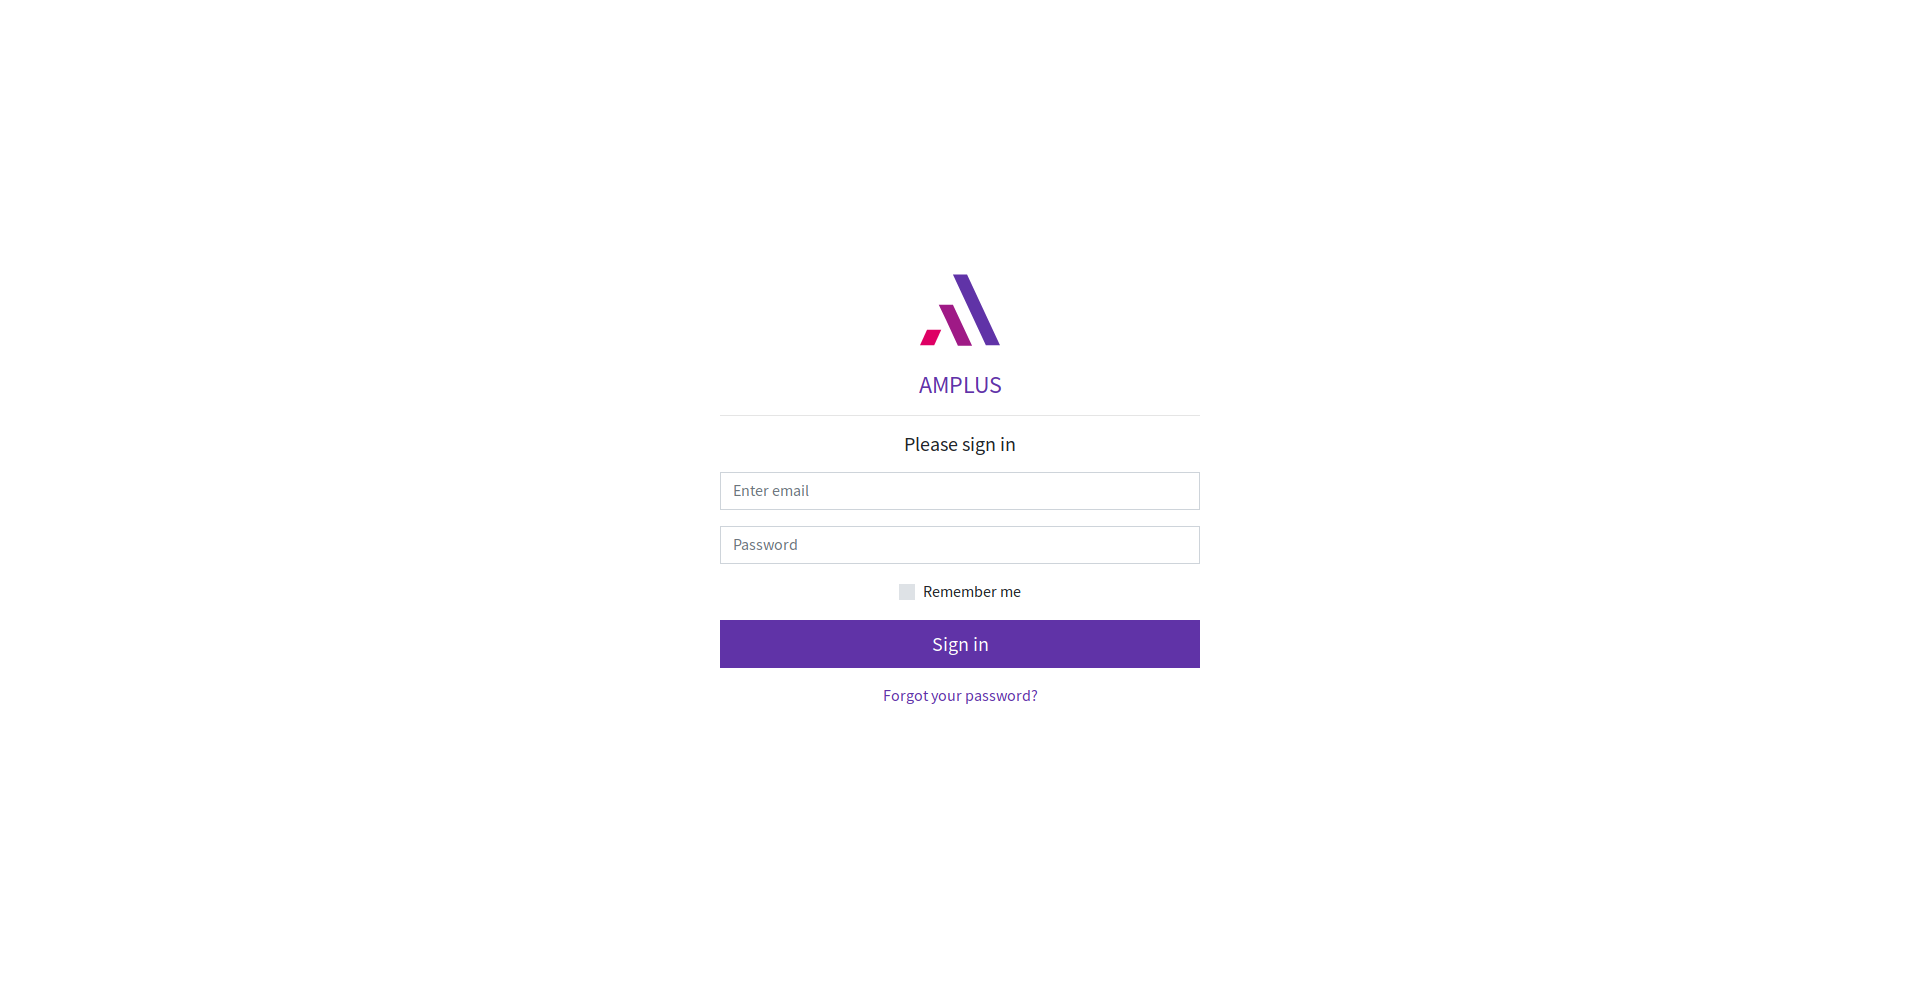
Once the Amplus account is created, the user can access the portal through the “Sign in” page. On this page the following fields have to be filled in:
-
Email
-
Password
After filling in the fields, the user can access the portal by clicking the “Sign in” button.
Forgotten password
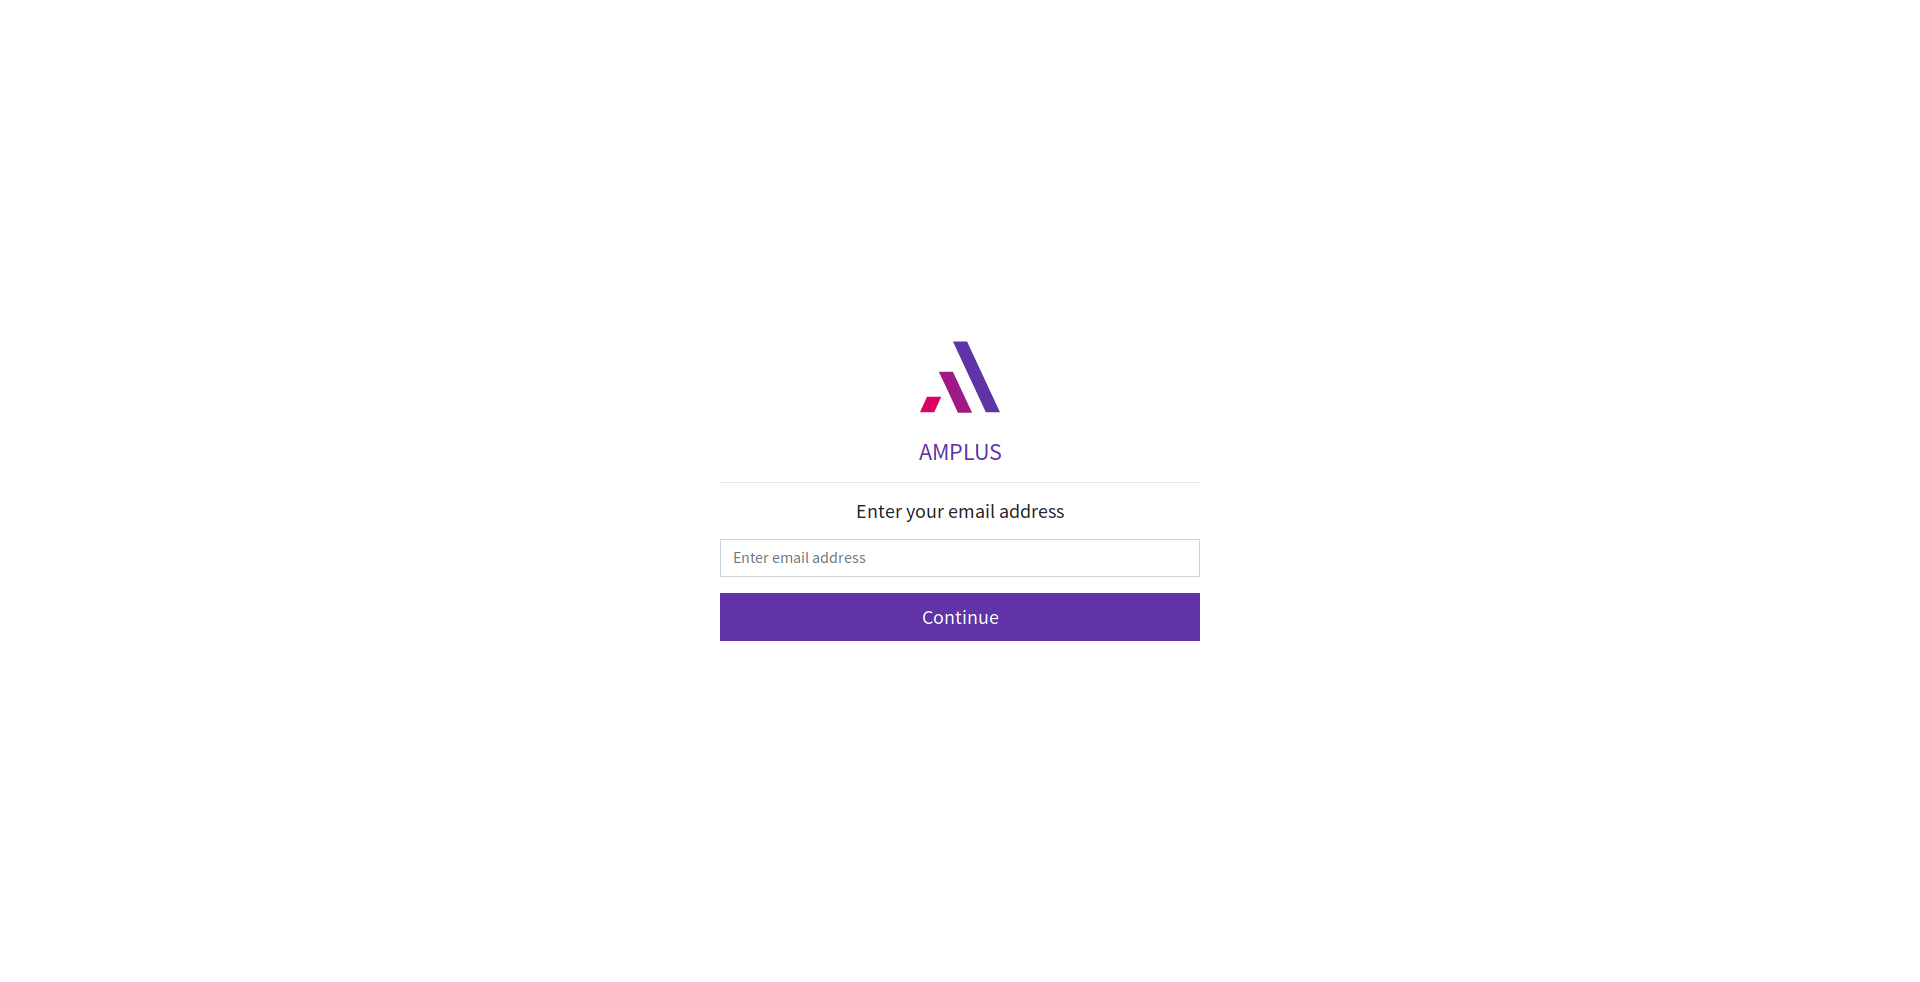
If a user has forgotten his password and is unable to access his account, the user needs to take the following steps:
-
Click on the “Forgotten password” link right below the “Sign in” credential fields. This action will redirect you to a new page.
-
Enter your account email address and click on the “Continue” button. This action will redirect you to a page with the empty fields for “Token” and “New Password”. At the same time, an email with a token will be sent to your email address.
-
Fill in the fields by entering the token (received on your email) in the “Token” text field, and entering a new password in the “New password” text field.
-
Click the “Reset password” button.
-
Continue to enter your new credential on the “Sign in” page.
Instances
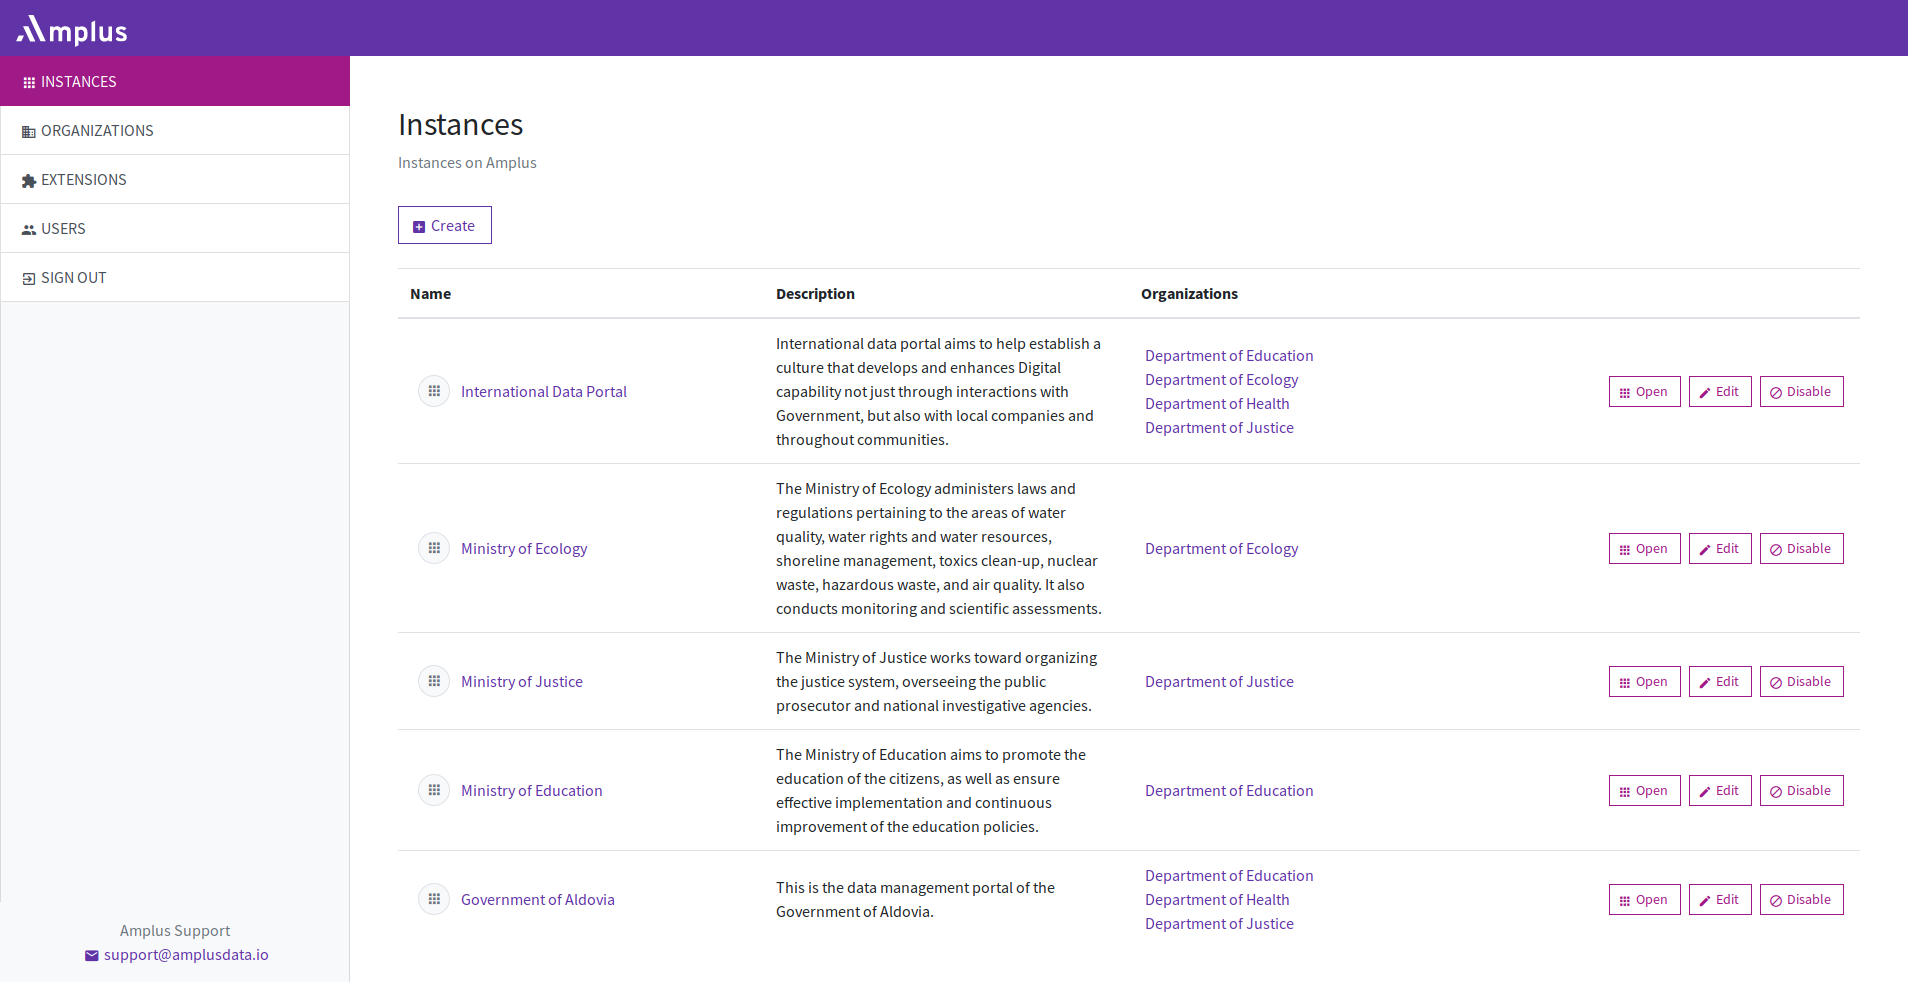
The instances are the core data management part of the Amplus platform. The user can easily access the Instances page, by clicking the “Instances” tab on the left navigation menu. On this page the user can (depending on the user role):
-
Create an instance.
-
See a list of all instances related with the exact user, the name of the instances, short description of the instances, organizations that these instances belong to.
-
Note that one instance can belong to one or more organizations. Depending on the user role, the list of instances is displayed.
-
See Instance details by clicking the name of the chosen instance. The instance details page displays the list of users that belong to that instance and a list of all organizations related with that instance.
-
Select all instances and apply a certain action to them (for example: Delete all instances).
-
Pagination for easily navigating the page of all created instances.
Create Instance
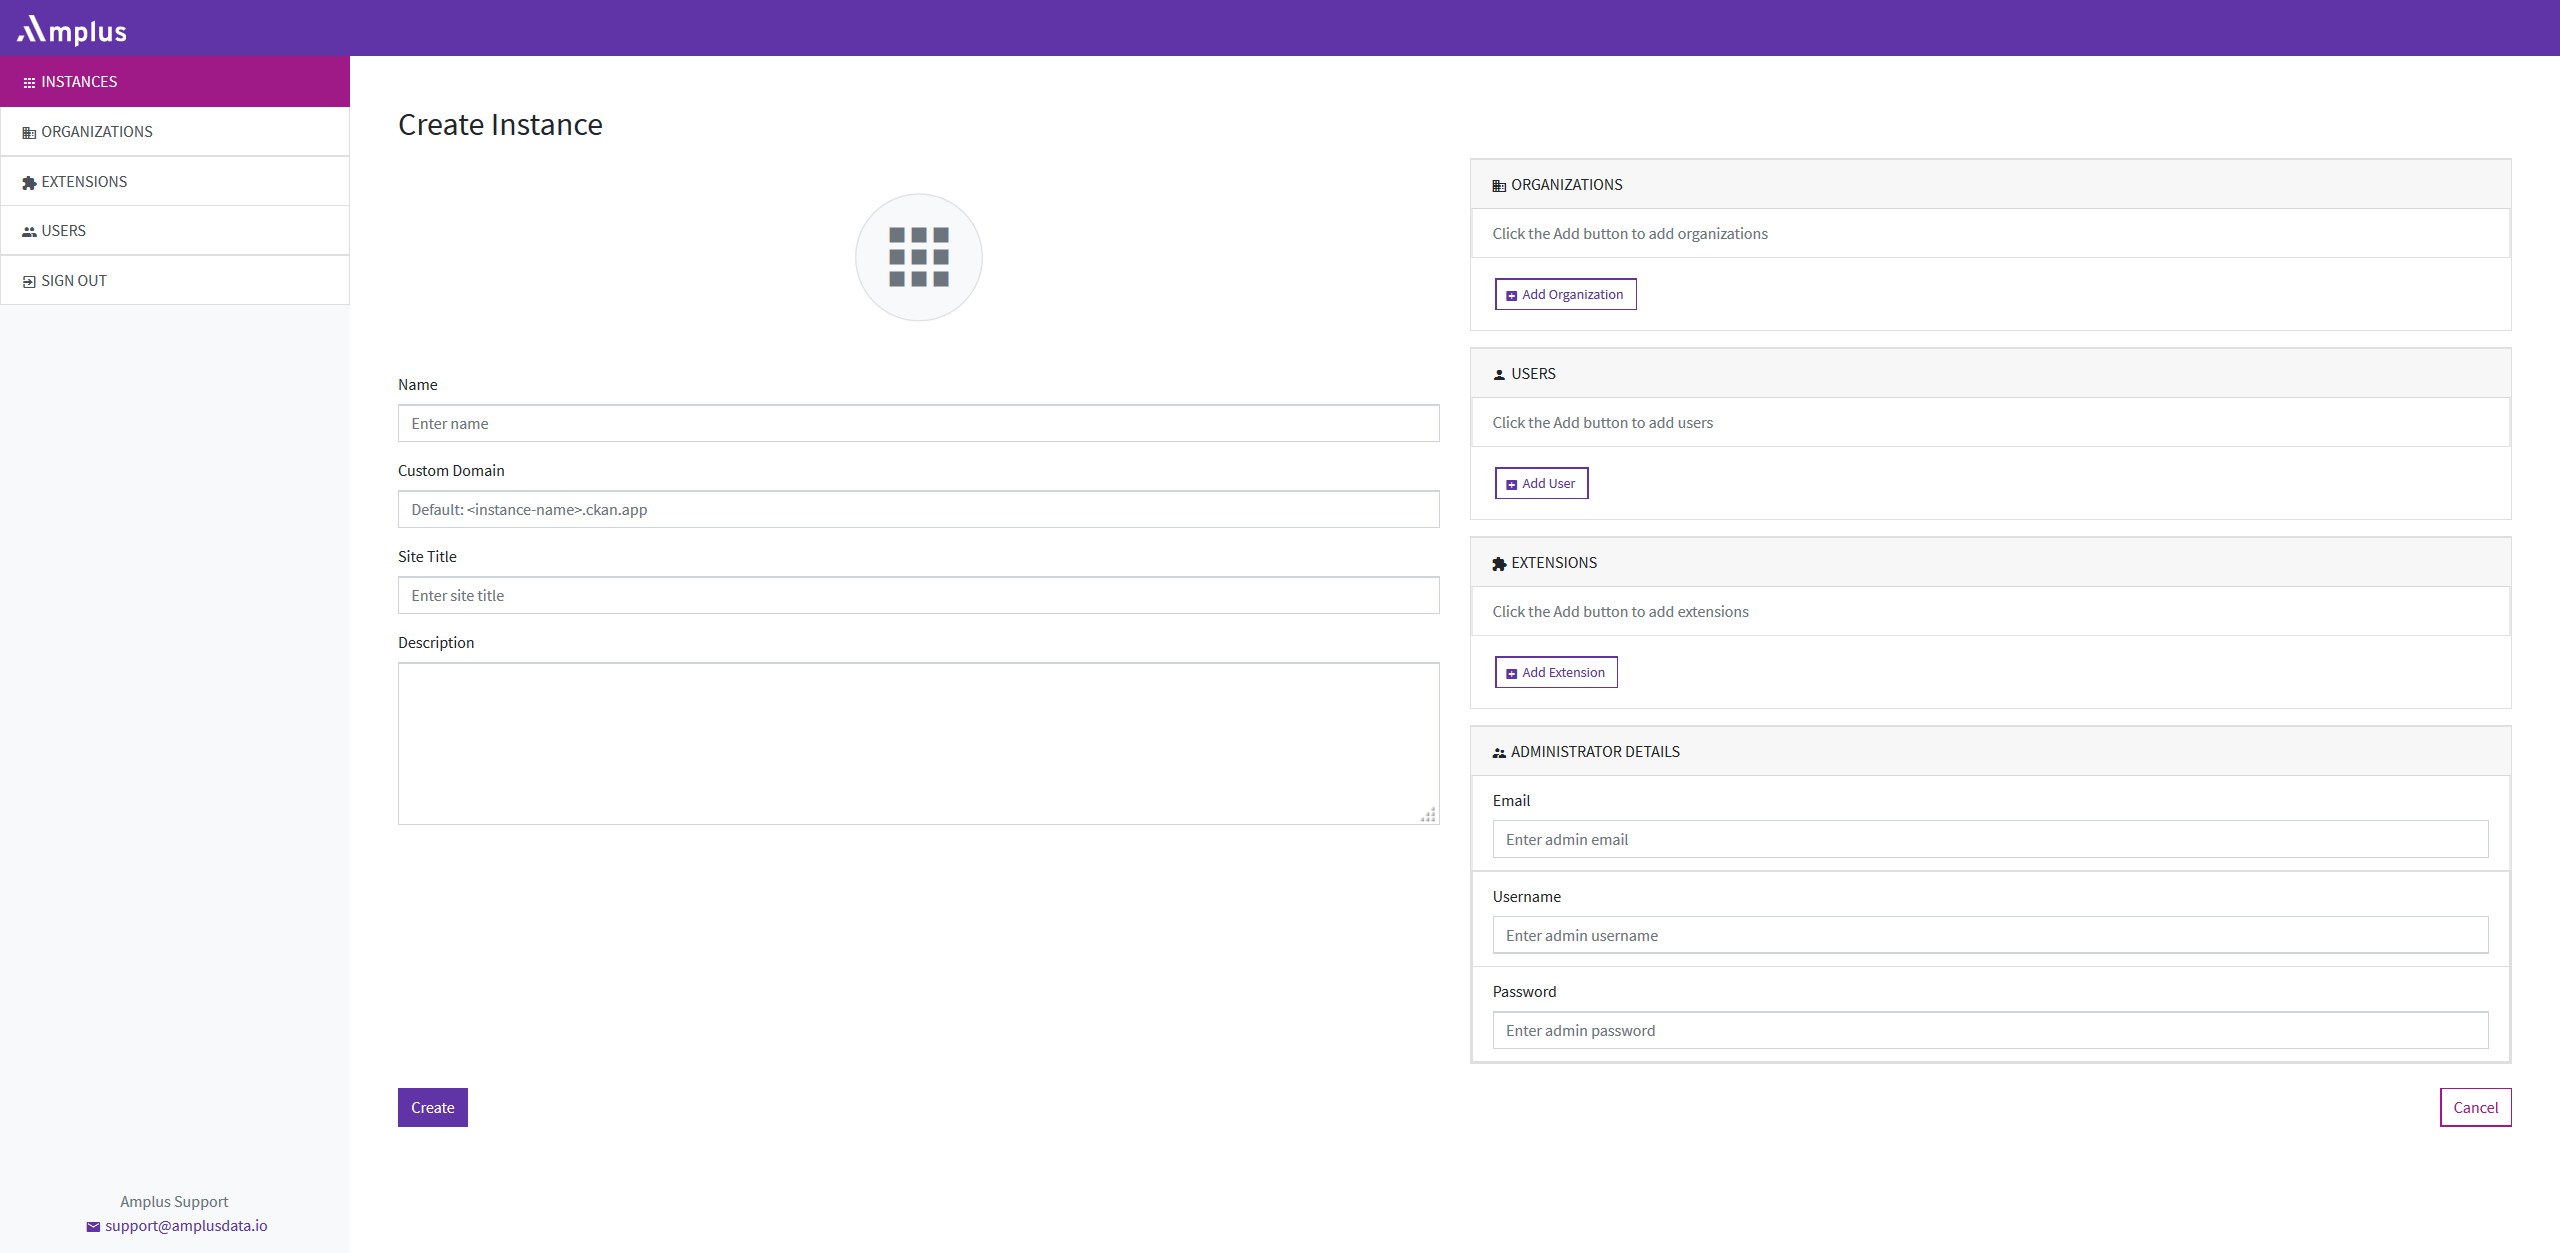
Creating instances is simple and can be done through the user friendly interface of the portal. By clicking the “Create Instance” button, a “Create instance” page will be opened. On this page the user can add:
-
Name and Site title - the name of the instance can be created in the “name” text box. The name of the site can be created in the “site title” text box.
-
Description - details about the instances can be added in the “description’ text box.
-
Organizations - “Add organization” - in the right side panel of the “create instance” page, the user can click the “Add organization” button and a drop-down menu will be opened. By choosing one of the existing organizations from the menu, the user can select the one that this instance will be related with, by clicking the “add” button. This step is not mandatory for creating an instance. Once the instance is created, the user can easily manage it through the “edit Instance” button.
-
Organizations - “Create organization” - If there are no organizations in the existing list, the user can click on the button “Create organization” in the right side panel of the “create instance” page, and a new page in a separate window will open, where the user can create and organization.
-
Users - “Add user” - additionally in the right side panel, users can be added to the chosen instance by clicking the “Add user” button. A drop-down menu will be opened and all available and registered users will be listed. By clicking the “add” button, the selected user of the drop-down menu will be added to the instance. This step is not mandatory for creating an instance. Once the instance is created, the user can easily manage it through the “edit instance” button.
-
Extensions - “Add extension” - in the right side panel of the “create instance” page, the user can click the “Add extension” button and a drop-down menu will be opened with a list of all available extensions that the user can add to that instance.
-
Administrator Details - In this section, the creator of the instance should add a valid email address, choose a username and set a password (min. 8 characters). These details can be used for entering and managing the newly created instance.
-
Create - by clicking the “Create” button the new instance will be created and will be available in the instances list. The exact link to the newly created instances will be visible for the user.
Note: If the user clicks on the “Cancel” button on the right side footer part, the creation of the instance will be canceled.
Edit Instance
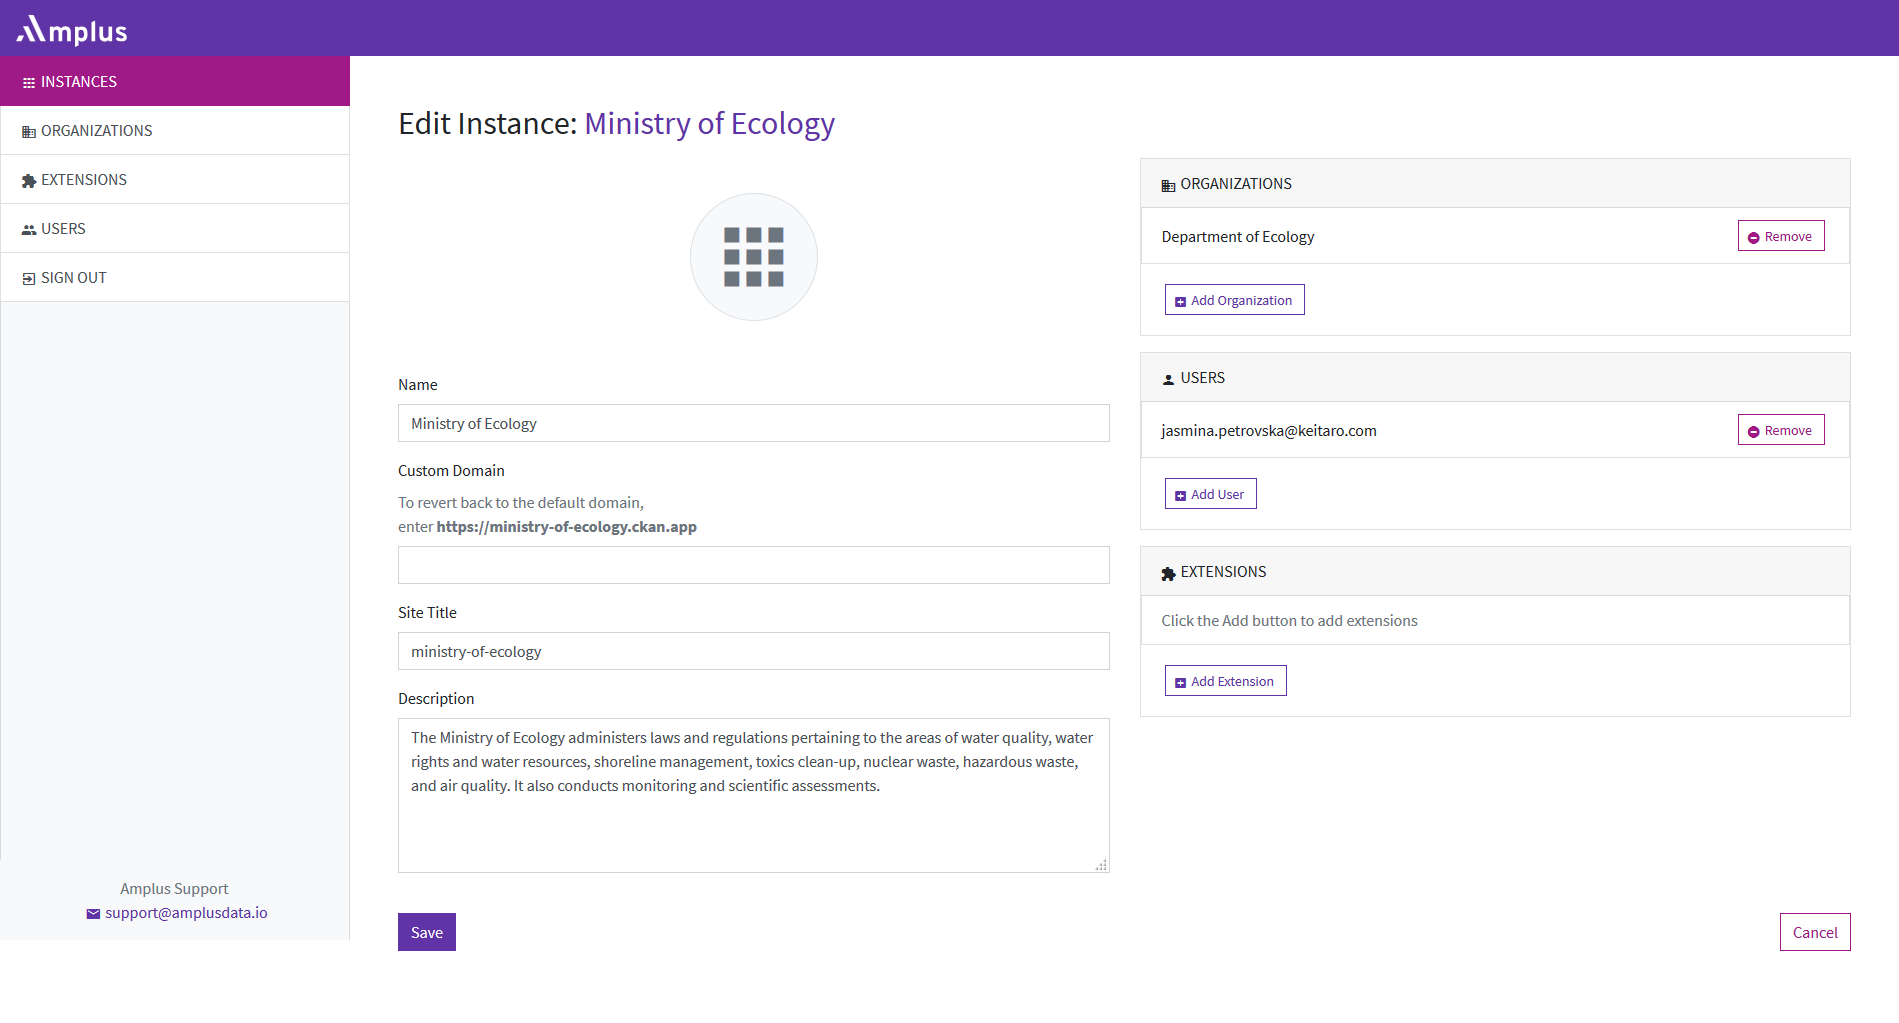
The instances can be easily managed through the “Instances” page. On the list of all created instances, the management of the instance goes by clicking the “Edit” button. Once the “Edit” button is chosen, the “edit instance” page will be opened, where the user can edit or change the following:
-
the name of the instance
-
he description
-
Organizations - can add new organizations to that instance
-
Organizations - can remove the previously added organizations
-
Users - can add new user
-
Users - can remove the previously added users
-
Extensions - can add new extensions to the instance
-
Extensions - can remove the previously added instances.
-
Can save the changes by clicking the “Save” button
Note: If the user clicks on the “Cancel” button on the left side footer part, the editing of the instance will be canceled. Additionally, the instances can be disabled by clicking the “disable” button on the “view instance” page.
Delete Instance
The instances can be easily managed through the “Instances” page. On the list of all created instances, the deletion of an instance can be done by clicking the “Delete” button. Once the “Delete” button is chosen, the user will have to confirm the action in order for it to be applied.
Organizations
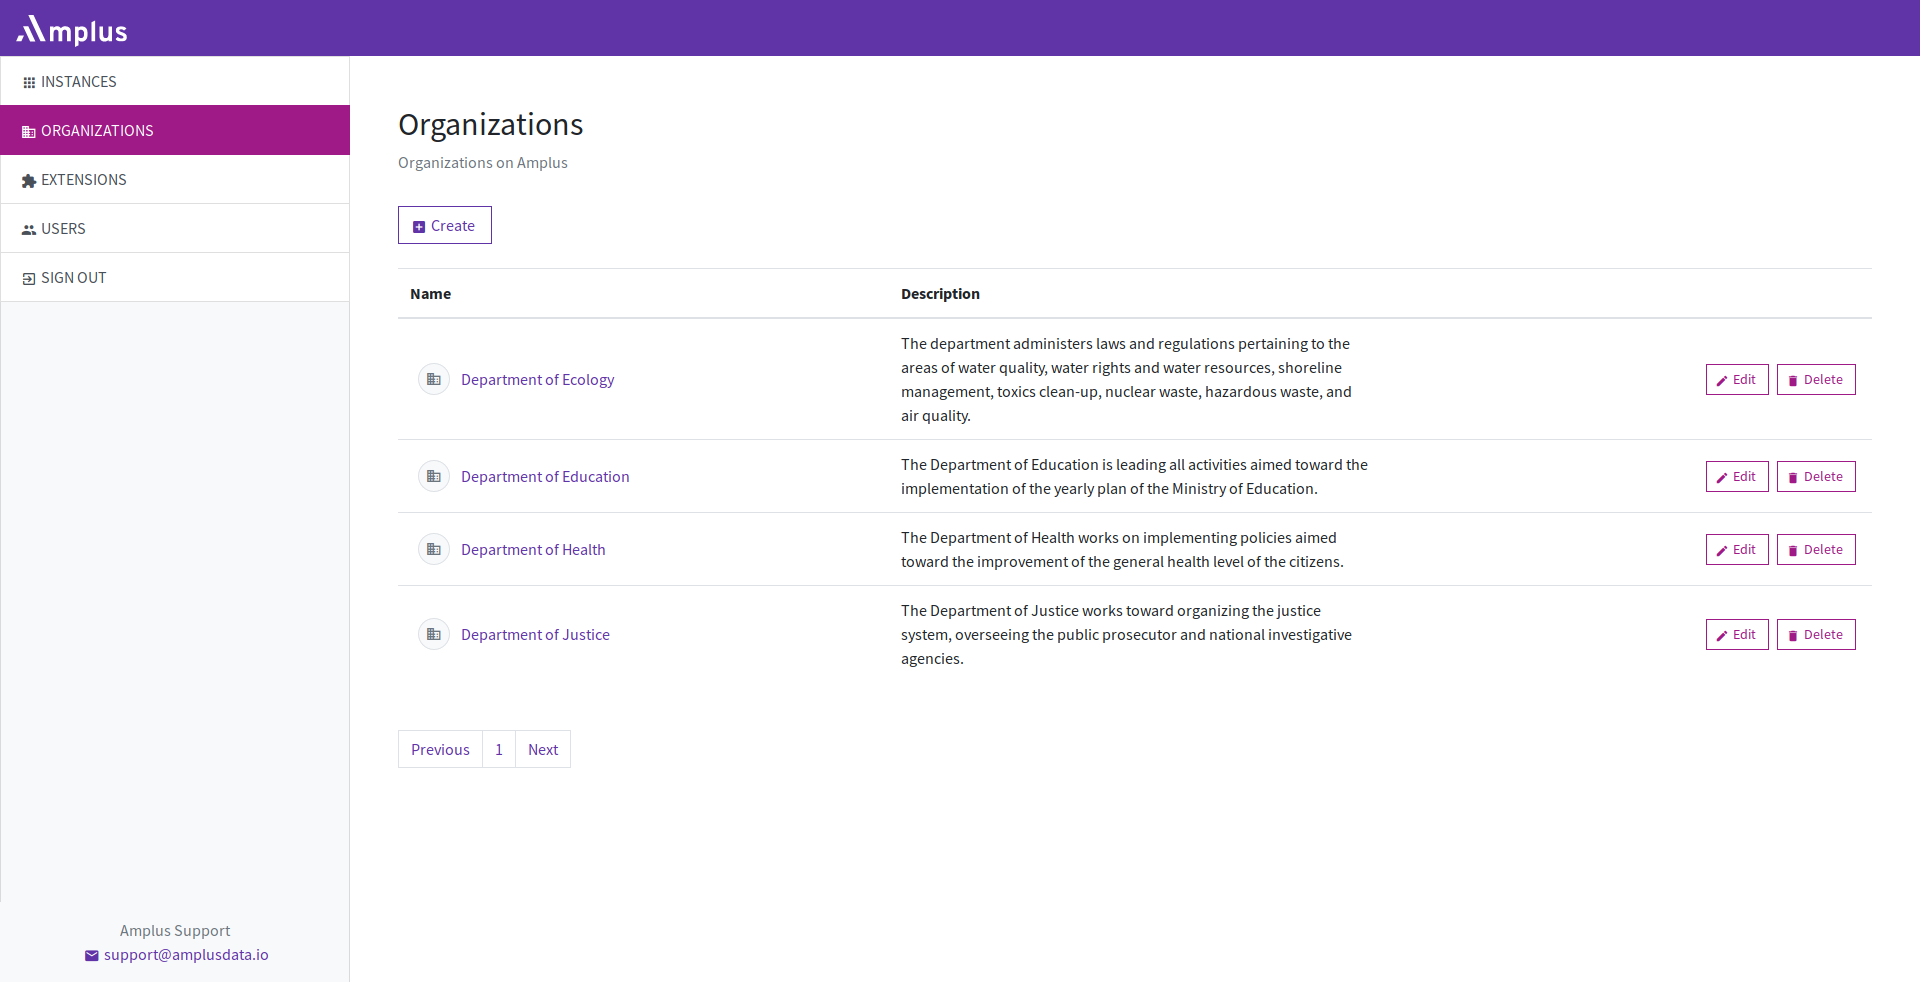
Organizations of the Amplus portal are completely customizable according to the user's needs. Each organization consists of members with different authorization, and the organization is able to create/edit limitless datasets containing public or private resources. Amplus users can own and be part of multiple organizations. The user can easily access the organization page, by clicking the “Organizations” tab on the left navigation menu. On this page the user can:
-
Create an organization.
-
See a list of all organizations related with the exact user, the name of the organization and short description.
-
See an organizations’ details by clicking the name of the chosen organization. An Organization’ details page presents the list of users that belong to that organization.
-
Select all organizations and apply a certain action to them (for example: Delete all organizations).
-
Action buttons on “Organization” page: “Edit” and “Delete”.
-
Pagination for easily navigating the page of all available organizations.
Create Organizations
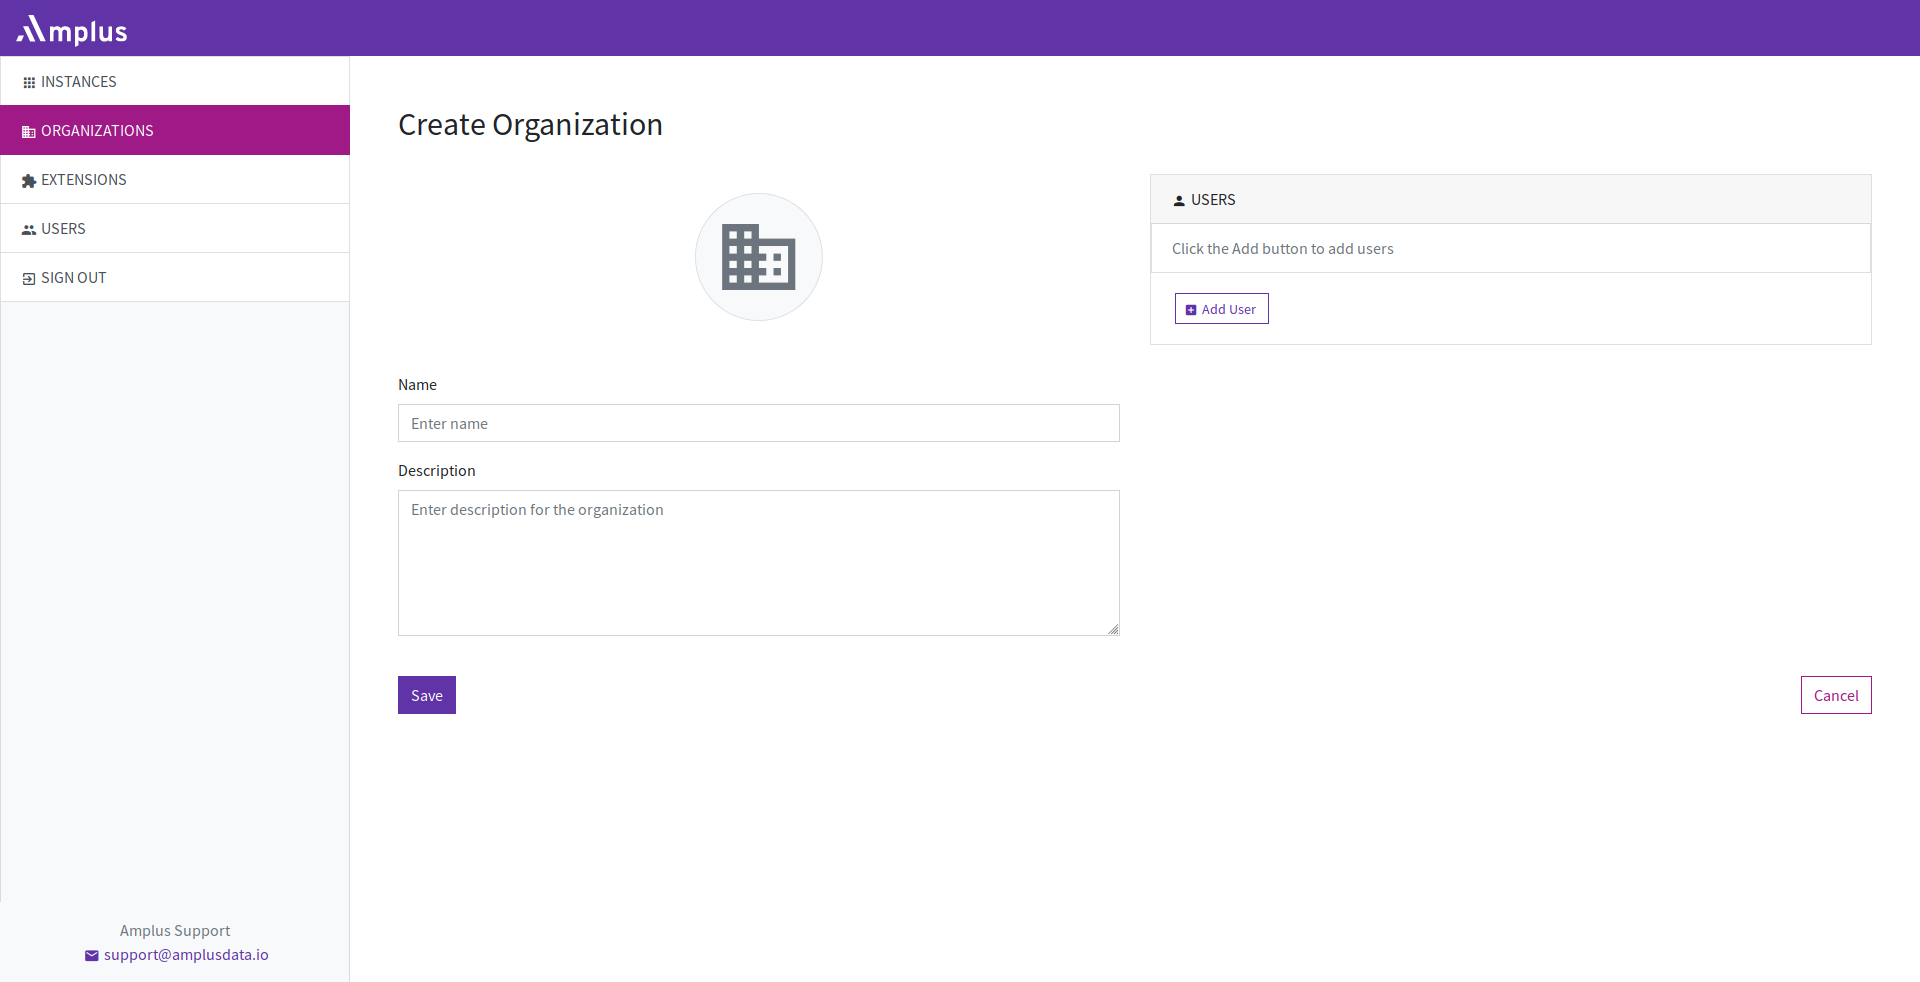
Depending on the user role and its authorisation privileges, creation of an organization is available on the “Organization” page by clicking the “Create Organization” button. By applying this action, a new “create organization” page will be opened, where the user can:
-
Create a Name for the organization - the name of the organization can be created in the “name” text box.
-
Description - details about the organization can be added in the “description” text box
-
“Add user” - additionally in the right side panel, users can be added to the chosen organization by clicking the “Add user” button. A drop-down menu will be opened and all available and registered users will be listed. By clicking the “add” button, the selected user of the drop-down menu will be added to the organization. This step is not mandatory for creating an organization. Once the organization is created, the user can easily manage it through the “edit organization” button.
-
Create - by clicking the “Create” button, the new organization will be created and will be listed on the organization page.
Note: If the user clicks on the “Cancel” button on the right side footer part, the creation of the organization will be canceled.
Edit Organizations
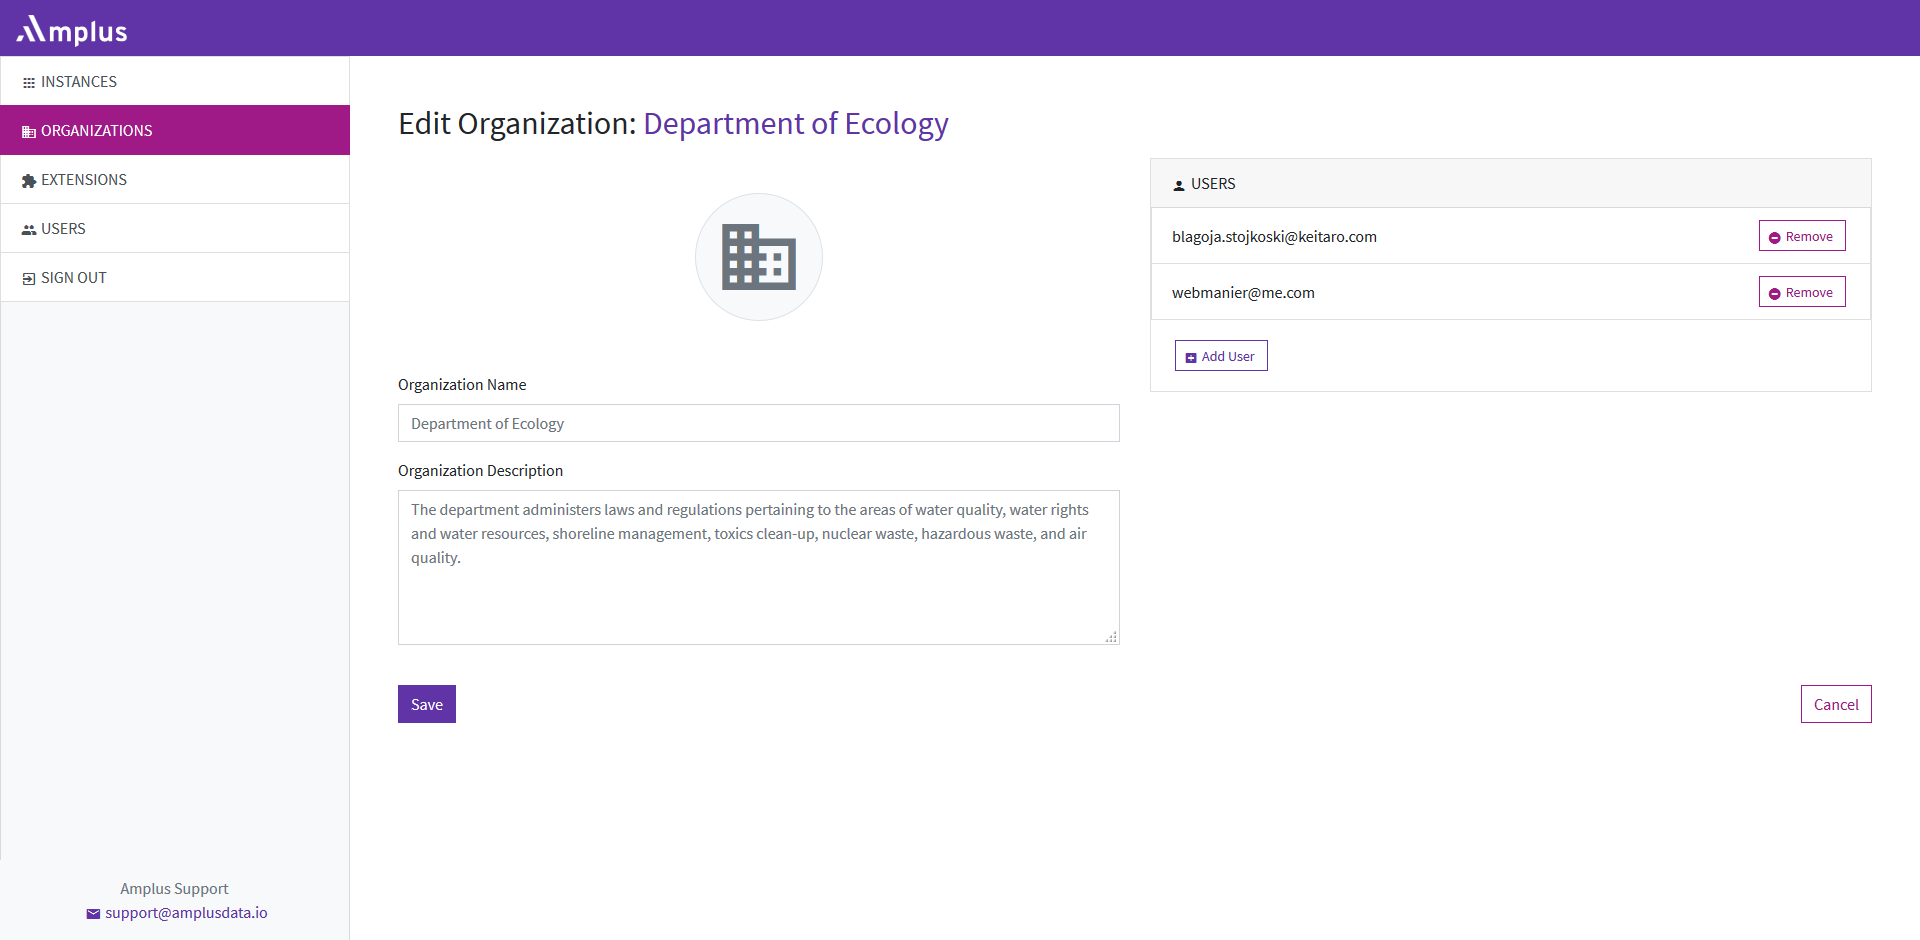
The organization can be easily managed through the “Organization” page. On the list of all created organization, the management of the organization goes by clicking the “Edit” button, or by clicking the name of the chosen organization. On the “Edit Organization” page the user can edit the following:
-
the name of the organization
-
the description
-
can add new users
-
can remove the previously added users
-
can save the changes by clicking the “Save” button
Note: If the user clicks on the “Cancel” button on the right side footer part, the editing of the organization will be canceled.
Delete Organizations
Each created organization on Amplus can be deleted by the user, who has privileges for deleting an organization. On the list of all created organization, the deletion goes by clicking the “Delete” button. Once the “Delete” button is chosen, the user will have to confirm the action in order for it to be applied.
Extensions
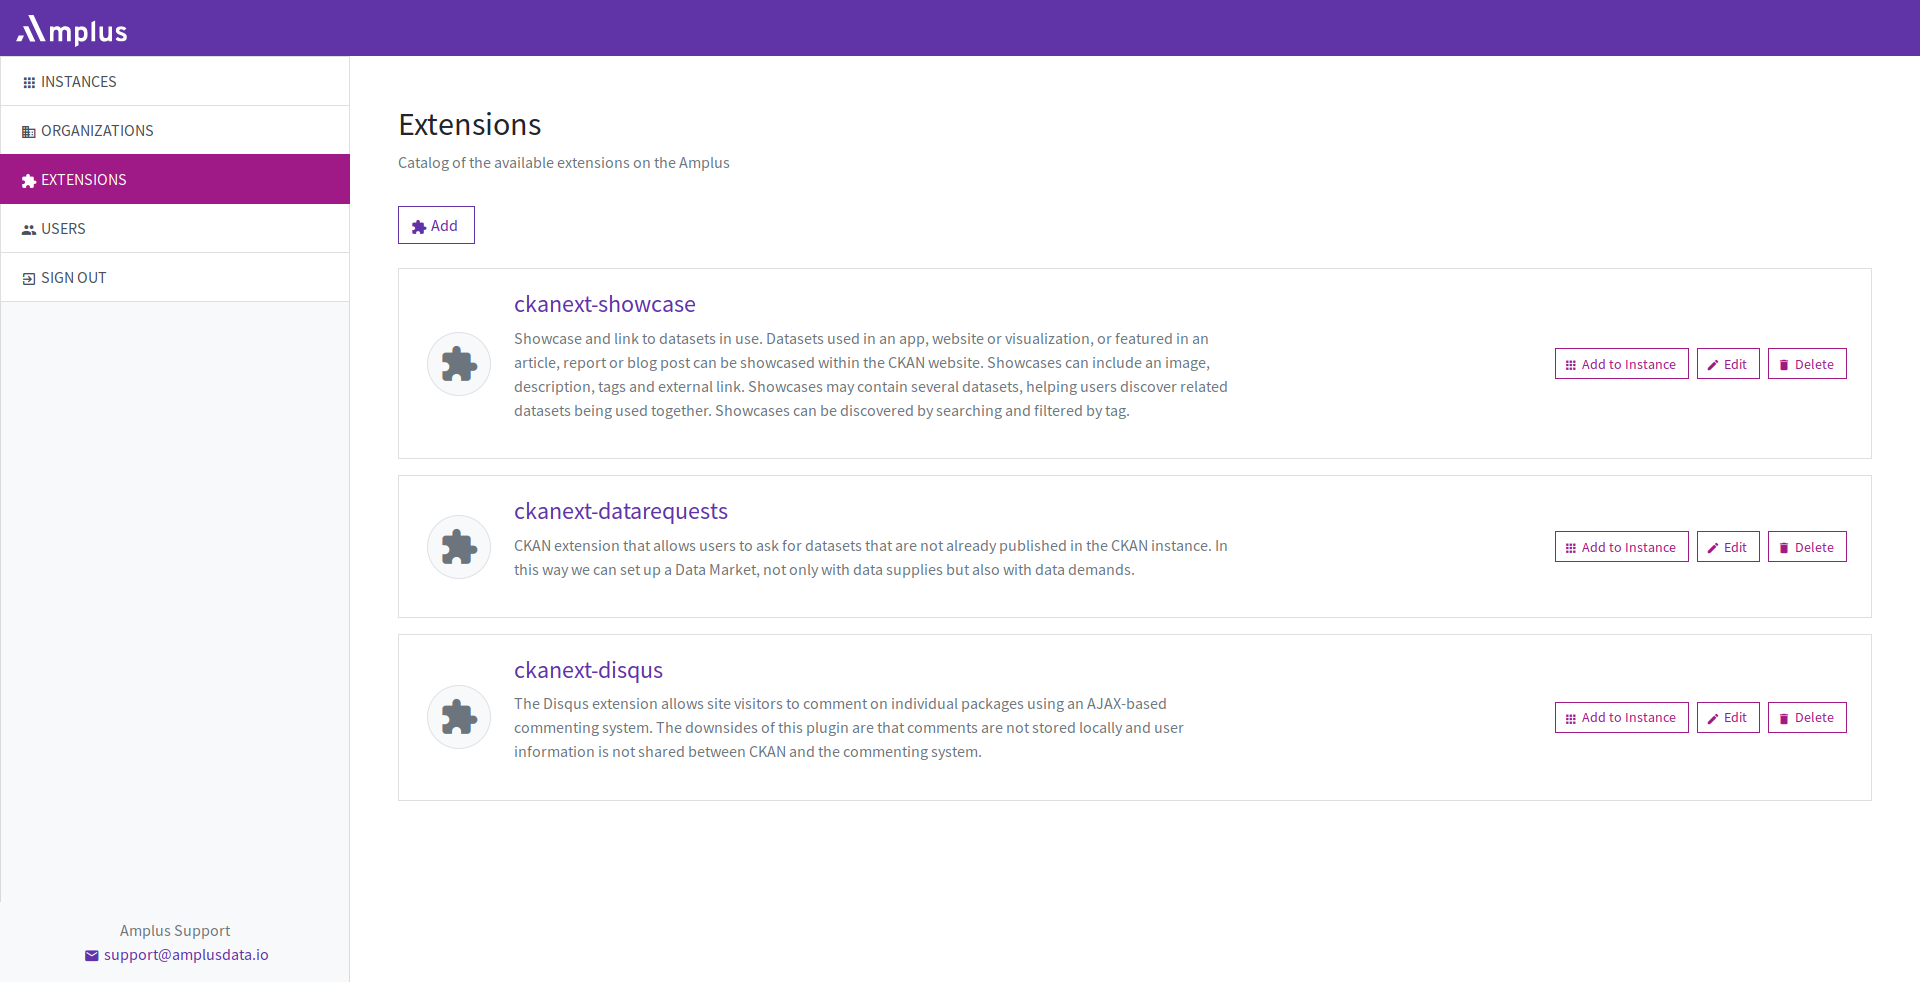
Each Amplus (CKAN) instance runs with certain of extensions already enabled. The available extensions can be viewed by clicking the “Extensions” link from the navigation menu on the left. All users can view the list of available extensions for Amplus Instances. Amplus System Admins can add, edit and remove the available extensions.
On the “Extensions” page, the user can:
-
See a list of all available extensions, the name of the extension, short description.
-
See extension details by clicking the name of the chosen extension, additionally on this page the extension can be edited or deleted.
-
Add an extension to each instance.
-
Pagination for easily navigating the page for previewing all extensions.
Users

User management on the Amplus portal goes through the right side navigation menu on the “Users” tab. On the “Users” page the following options are available (depends on the user roles and specific authorisation):
-
See a list of all available users on the portal, their Email address, Organizations where they belong (each user can belong to one or more organizations)
-
See User details by clicking the name of the chosen User. The “User details” page displays the profile of the user, organizations and instances he is related with.
-
Create New User.
-
Action buttons on “User” page: “Edit” and “Disable”.
-
Pagination for easily navigating the pages with all available users.
Create user
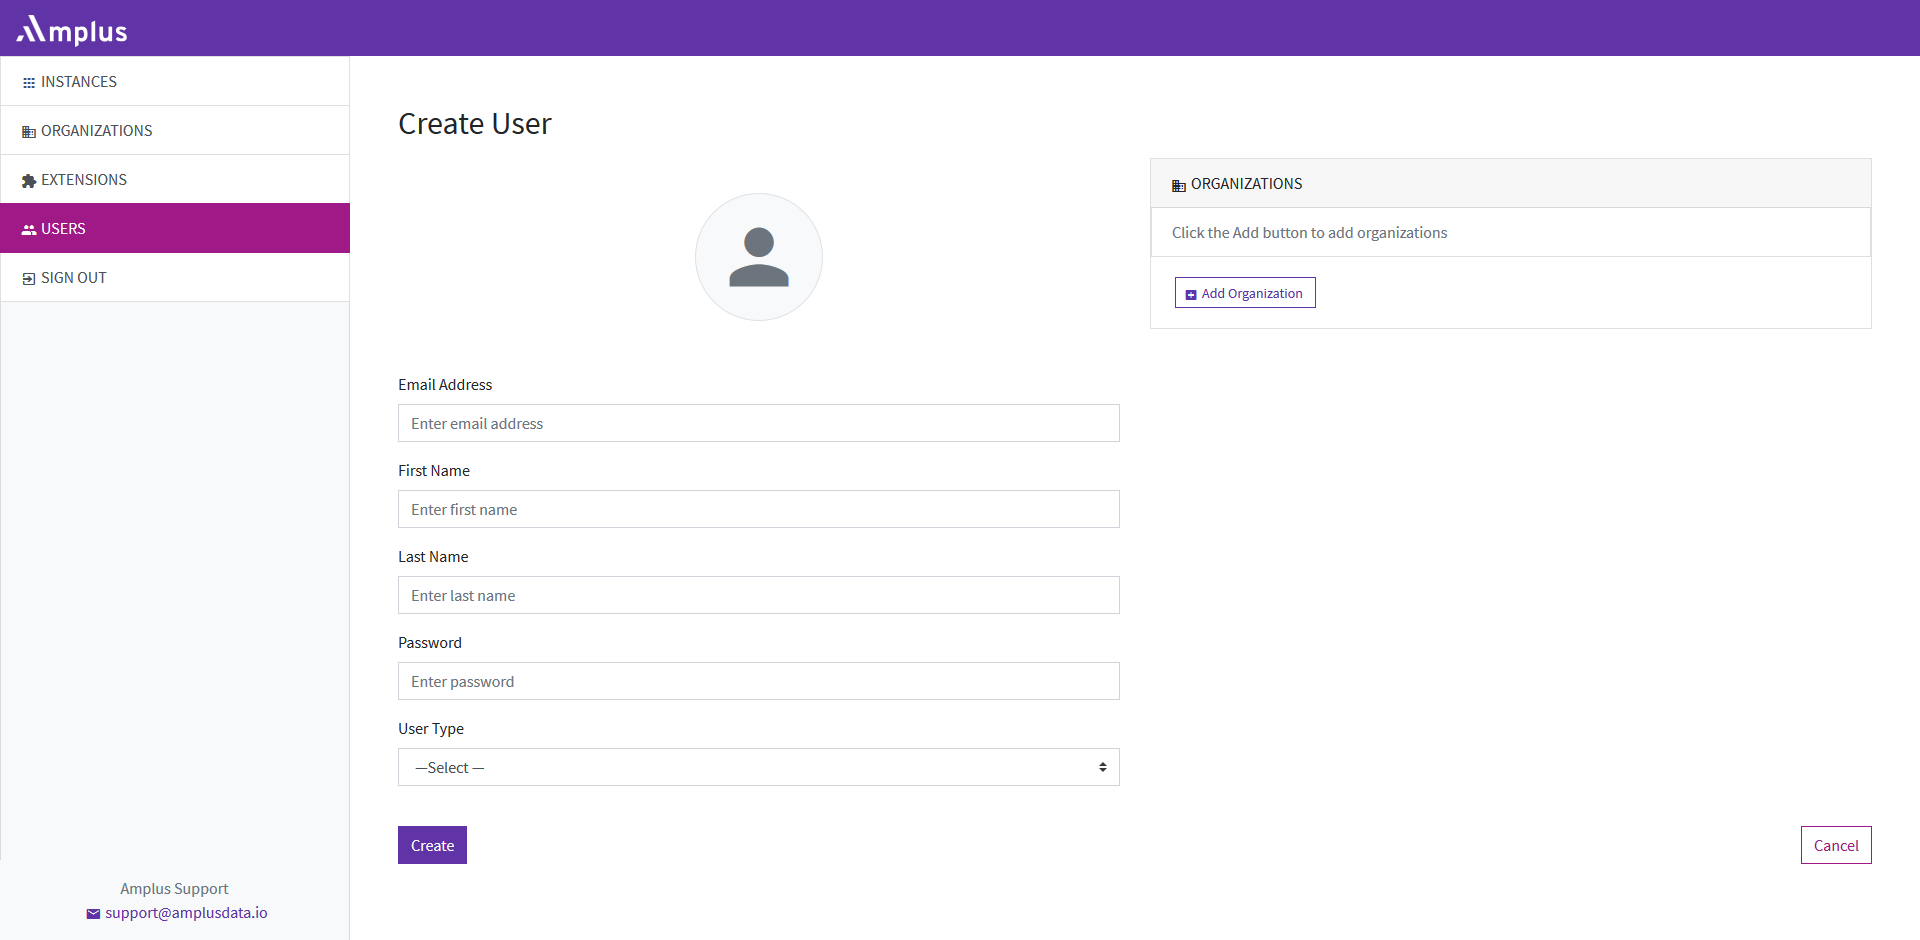
Creating a new user is easy using the “Create” button on the top of the “User” page. On the “Create new user” page, the following options are available:
-
Email Address - The email address can be added in the text box.
-
First Name.
-
Last Name.
-
Password
-
User type - A drop-down menu is available for choosing the user type: The following user types are available: “Organization Administrator” and “Instance Administrator”.
-
”Add to Organization” - A drop-down menu is available for choosing the organization that the newly created user will be related with.
-
“Add to instance” - A drop-down menu is available for choosing the instances that this user will belong to.
-
Create” button - All the actions applied on this page will be created.
Edit User
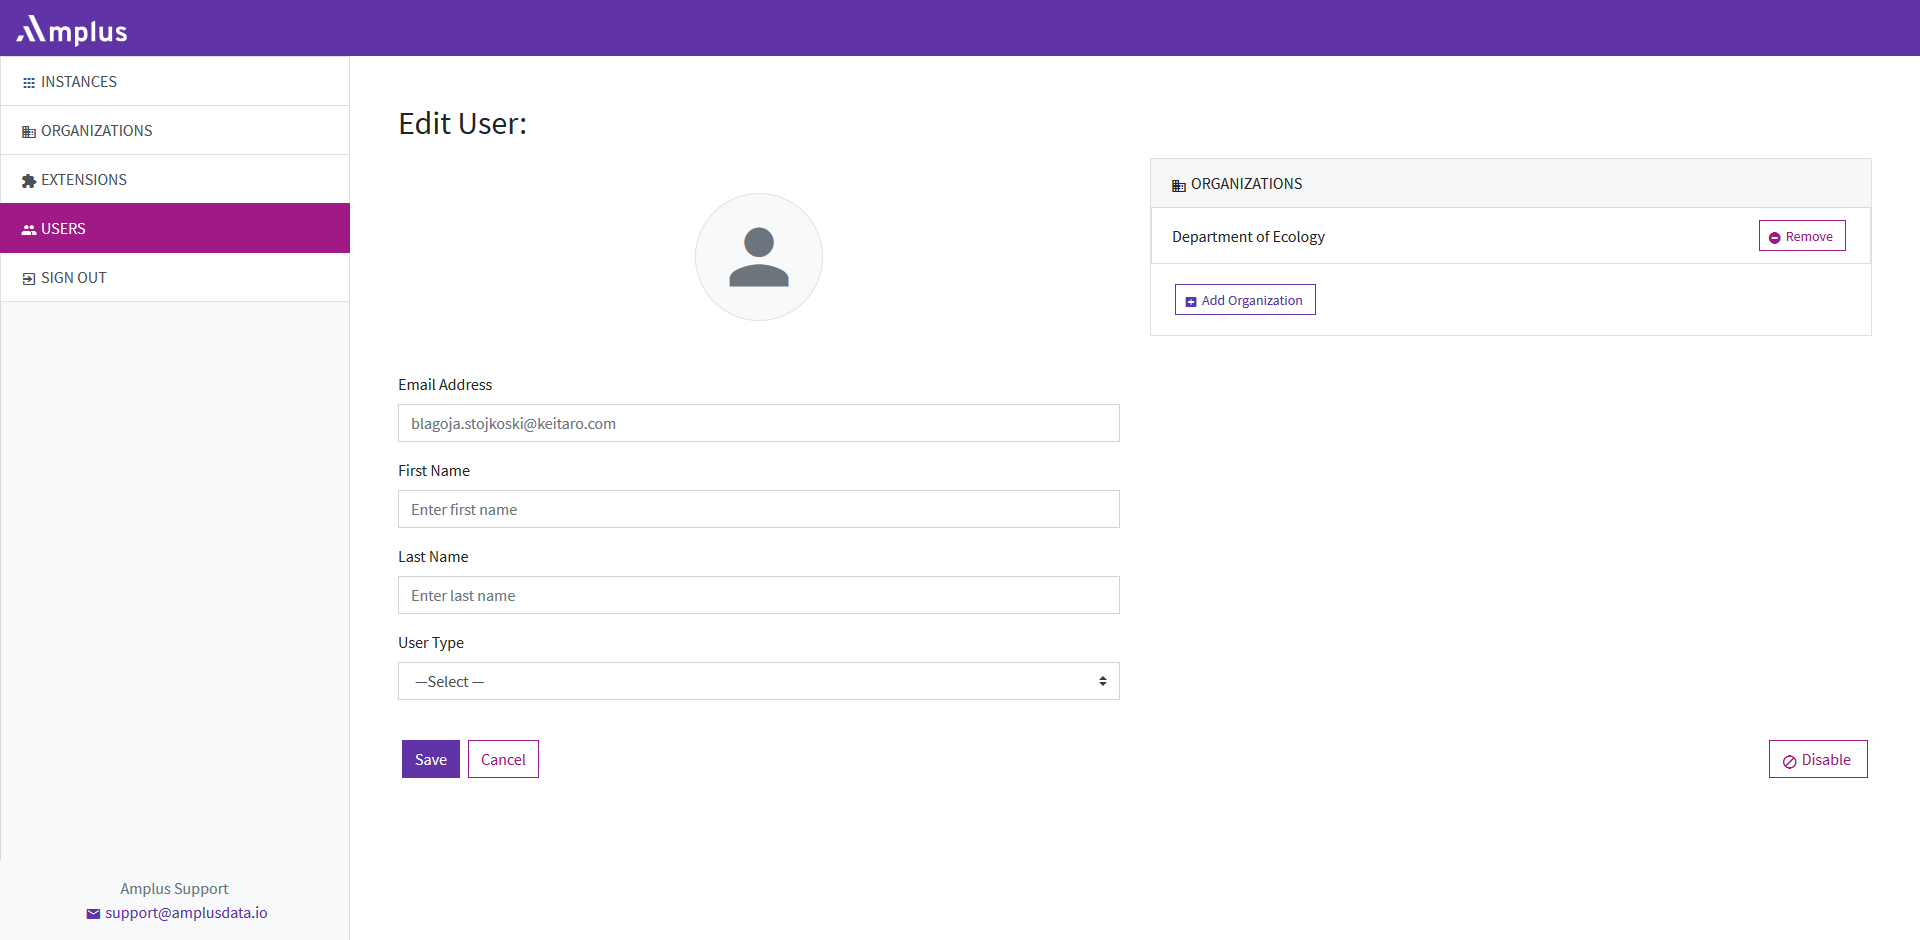
The management of the user can be done through the detailed user page or by clicking the “Edit” button on view all user page. On “Manage User” page the following options can be edited:
-
Edit the Email Address
-
Edit the First Name
-
Edit the Last Name
-
Edit the password.
-
Edit the User type.
-
“Remove” or “Add to Organization”
-
“Remove” “Add to instance”
-
“Save” button - all the actions applied on this page will be saved.
Disable User
All added users to the Amplus data management portal can be easily disabled through the detailed “User” page, the “Edit User” page or through the page were all users are listed, by using the“Disable” button. Once the “Disable” button is chosen, the user will have to confirm the action in order for it to be applied.
Sign out
At the bottom of the left side navigation menu, the last tab is “Sign out”. By clicking this tab, the user will be logged out of the Amplus portal and will be linked to the “Sign in” page.